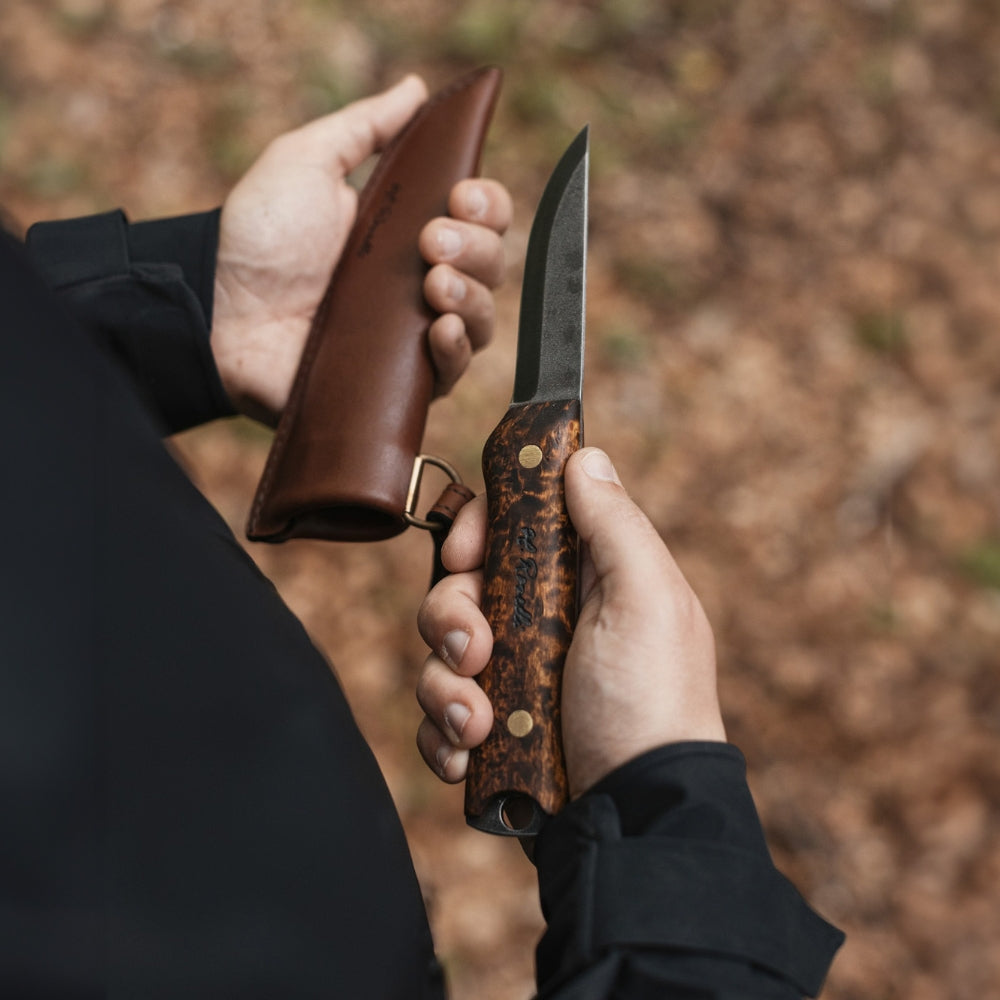


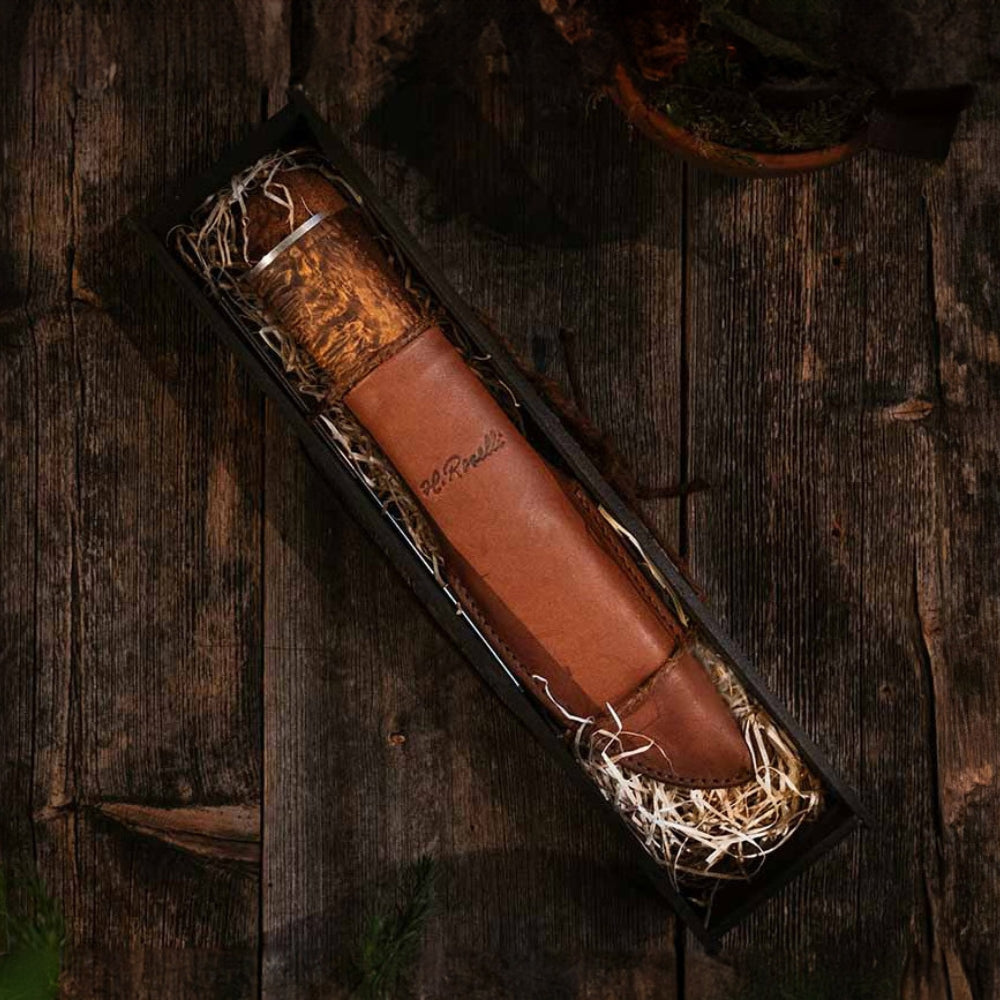

Stabilized wood is a popular material for knife handles because it's durable, long-lasting, and has an attractive appearance. The stabilization process involves impregnating the wood with a resin, which fills the pores and makes the wood more stable and resistant to changes in temperature and humidity.
Here's a step-by-step overview of our process for stabilizing wood for knife handles:
1. Select the wood: Choose a piece of curly birch wood that has an attractive grain pattern and color. The wood should be dry and free of cracks, knots, and other defects.
2. Cut the wood: Cut the wood to the desired size and shape for the knife handle.
3. Dry the wood: Dry the wood in a kiln or air dry it until the moisture content is between 6% and 8%. This step is important because any excess moisture can interfere with the stabilization process.
4. Prepare the stabilizing resin: Mix the resin according to the manufacturer's instructions. The resin is typically a two-part epoxy that's mixed together just before use.
5. Vacuum chamber: Place the wood in a vacuum chamber and remove the air to create a vacuum. This step is important because it allows the resin to penetrate the wood more deeply.
6. Impregnate the wood: Once the vacuum is created, pour the stabilizing resin into the chamber. The vacuum will draw the resin into the wood, filling the pores and stabilizing the wood.
7. Cure the resin: Once the wood is fully impregnated with the resin, remove it from the vacuum chamber and allow it to cure. Depending on the type of resin and the ambient temperature, curing can take anywhere from several hours to several days.
8. Finishing touches: Once the resin has cured, sand the wood to the desired shape and smoothness. The stabilized wood can then be used to make knife handles or other decorative objects.

